


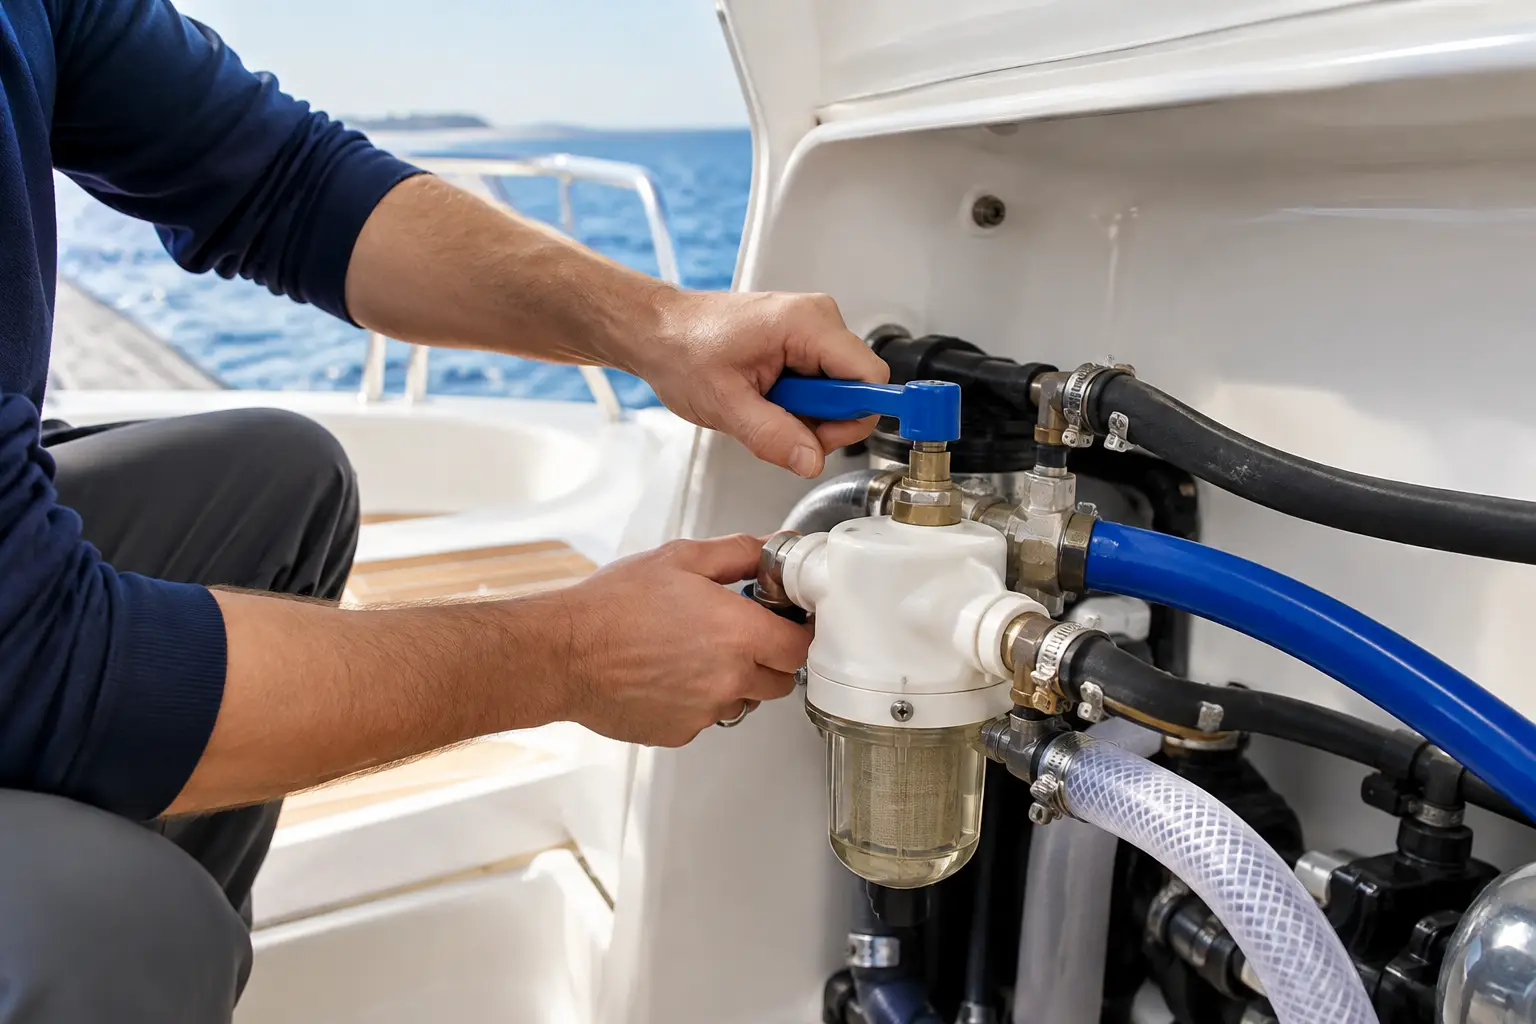
Air in the installation rarely remains just an unpleasant noise from the faucet. It can cause pressure pulsations, improper operation of the pressure pump, flow interruptions, and unnecessary wear of components. If you are wondering how to bleed your boat's plumbing system, the process is simple only when you know the pipe layout, boiler position, pump type, and the actual condition of the water tank.
On a vessel, the fresh water system usually includes a tank, shut-off valve, suction filter, pressure pump, pressure accumulator, piping distribution, faucets, shower, toilet, and boiler. Air can enter after tank draining, winterizing, installation work, filter replacement, or opening any connection. The goal of bleeding is not only to get water at the outlet but to establish stable pressure throughout the entire system.
Why Air in Your Boat's Plumbing Is Not a Minor Issue
The pressure pump is designed to activate when pressure drops and deactivate when it reaches the set value. Air is compressible, unlike water, so the pump may frequently turn on and off due to its presence. Such operation is often recognized by short pump cycles and a weak or fluctuating flow at the faucets.
If the pump continues to run without a stable water supply, there is a risk of overheating and damage to the diaphragm, valves, or motor. On larger yachts, catamarans, and vessels with multiple bathrooms, the problem may be localized to just one branch, for example toward the bow shower or boiler. Therefore, opening the nearest faucet and assuming the system is bled is insufficient.
Sometimes air is not the cause but the consequence. If bubbles return after several days of operation, suspect leakage on the pump's suction side, a cracked pipe, poorly sealed filter cover, insufficiently open tank valve, or occasional tank draining. Such a fault may not immediately leave visible water traces as the suction side can draw air without dripping.
Preparation Before Bleeding the Boat’s Plumbing System
Before starting the pump, check if there is enough clean water in the tank. With a partially empty tank, especially during vessel motion, the suction can occasionally draw air and invalidate the whole procedure. If the vessel has multiple tanks, verify which is selected on the distribution valve and ensure other valves are in the correct position.
Inspect the transparent suction filter of the pump if installed. The housing must be clean, properly tightened, and have an undamaged gasket. Also, check hose connections, clamps, and quick couplings. Do not overtighten plastic parts—the deformed filter housing may create the same problem you are trying to solve.
Turn off the boiler if the electric heater is on until you confirm that the boiler’s tank is fully filled with water. A heater operating without water can be damaged very quickly. If the boiler has a separate valve, open it according to the system manufacturer's instructions unless the boiler is intentionally isolated for works.
Ensure all service hatch covers are accessible and that you can monitor the pump during operation. Prepare a cloth or container for any water around the filter and fittings. For vessels with 230 V installations, inverters, or generators, clearly separate work on the plumbing from electric components. Water and improvisation are not an acceptable combination.
Step-by-Step Guide to Bleeding Your Boat's Plumbing
First, close all faucets and turn on the pressure pump. The pump should start filling the system. If it does not draw water after a short period, turn it off immediately and check the tank supply, valves, filter, and suction line. Do not leave the pump running dry in hope it will establish suction on its own.
Once the pump starts working, begin at the faucet closest to the pump or the lowest in the installation. If the faucet has both hot and cold water, open the cold side first. Open it fully and let the water flow until the stream is uniform, without hissing, interruptions, or visible bubbles. Then close the faucet and verify whether the pump stops after restoring pressure.
Continue sequentially to more distant consumers. For most vessels, a practical order is kitchen faucet, washbasin, shower, outdoor shower, and any additional consumers. Following a universal sequence is less important than methodically going through each branch of the installation. Opening multiple faucets simultaneously can speed flow but complicates diagnosing if a branch has a restriction or air is not properly released.
After cold water, bleed hot water at all faucets. The hot branch is especially important as a larger quantity of air can be retained in the boiler and its piping. Open the hot side until the water flows continuously. If only air comes out and cold water operates properly, the boiler may not have water supply; its valve is closed, or there is a problem with the check valve and piping towards the hot branch.
For handheld showers, outdoor showers, and foldable mixers, check if the handle and showerhead are positioned to allow flow. These consumers are often at higher points in the installation where air can remain longer. Also, do not forget appliances such as dishwashers, washing machines, or ice makers with water supply if your vessel is equipped with them. Their bleeding may require a separate procedure according to the manufacturer’s documentation.
When you have gone through all outlets, close the faucets and listen to the pump. A properly functioning system should reach pressure and switch off the pump. If it turns on again without any consumer open, the pressure is dropping somewhere. Causes may include leaks, check valve malfunction, faulty pressure accumulator, or a faucet not sealing completely.
What Different Symptoms Mean After Bleeding
A steady stream with occasional short pump activations does not always indicate a fault. Systems without a well-adjusted pressure accumulator may have more noticeable cyclic pump operation than larger installations. However, very frequent activation at low flow usually indicates incorrect accumulator precharge pressure, damaged diaphragm, or an issue with the pump’s pressure switch.
If water pulsates at only one faucet, first clean the aerator or mesh at the outlet. Scale, tank sediment, or residues after works can restrict flow and create the impression of air in the pipes. If pulsations occur at all outlets, inspection should focus on the pump, filter, suction line, and pressure accumulator.
Cloudy water with very fine bubbles may result from air still separating from the water but must not be ignored if recurring. Unpleasant smell, color change, or deposits in filters are not bleeding issues but signs the tank and water system require hygienic treatment. Bleeding does not replace tank cleaning, pipe disinfection, or regular replacement of filter consumables.
When to Entrust the Procedure to a Service Technician
Basic bleeding usually does not require special tools. However, service diagnostics are justified when the pump cannot draw water, a fuse blows, pressure does not hold, or the problem recurs after every use. The same applies to vessels with multiple tanks, automatic source switching, watermakers, hot water recirculation, or complex monitoring systems.
Then it is necessary to check compatibility and condition of the entire assembly: pump capacity, pipe layout and diameter, suction filter, check valves, accumulator pressure, electrical supply, and control components. Replacing the pump without identifying the cause often only temporarily masks the problem.
UnLucky, through inspection, system diagnostics, installation, and integration, can determine why your plumbing loses pressure and propose a feasible solution for your specific vessel. If the pump operates unusually, water disappears from faucets, or unstable pressure remains after bleeding, send an inquiry with a symptom description, vessel type, and photos of the existing system. A reliable water system starts with a verified installation condition - Because Luck Has Nothing to Do With It.